5 Essential Tailoring Secrets Every Beginner Must Know
Target Keywords: tailoring tips for beginners, sewing hacks, how to stitch neatly, ojasvi creations sewing tips
Introduction
Even if your pattern drafting math is accurate, minor stitching mistakes can cause seam puckering, uneven hemlines, or tight necklines. Here are 5 essential tailoring tips from Ojasvi Creations to immediately elevate the finish of your homemade garments:
Video Tutorial: Watch & Learn
- Video URL: https://www.youtube.com/watch?v=8YANgubGRLg
Tip 1: Always Notch Curved Seams
When stitching rounded shapes like armholes, necklines, or princess seams, make tiny triangular snips (notches) into the seam allowance before turning it over. This releases fabric tension and prevents bunched-up curves.
Tip 2: Master Fusing Tape for Invisible Hemming
Instead of manually hand-hemming bottom folds or neck facings, place a strip of double-sided fusing tape inside the fold and press with a steam iron for a clean, stitch-less bond.
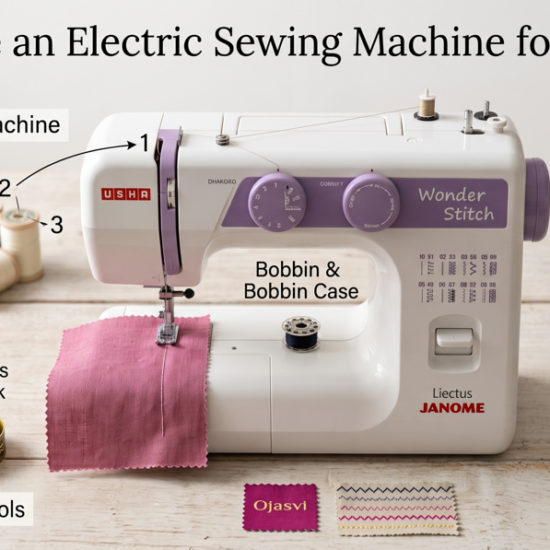
Tip 3: Adjust Thread Tension for Different Fabrics
If your stitches are bunching underneath, the top thread tension is too loose. If your fabric is gathering, the top tension is too tight. Always test on a scrap piece of fabric before working on your main garment!
Tip 4: Stay-Stitch Curved Openings
Before joining shoulders or inserting sleeves, run a straight stay-stitch line around your necklines at a 0.25 inch margin. This locks the weave and prevents the fabric from stretching out of shape during handling.
Tip 5: Press Every Seam as You Sew
Professional finishing isn’t done at the end—it happens step-by-step. Iron open every seam immediately after stitching it on the machine.